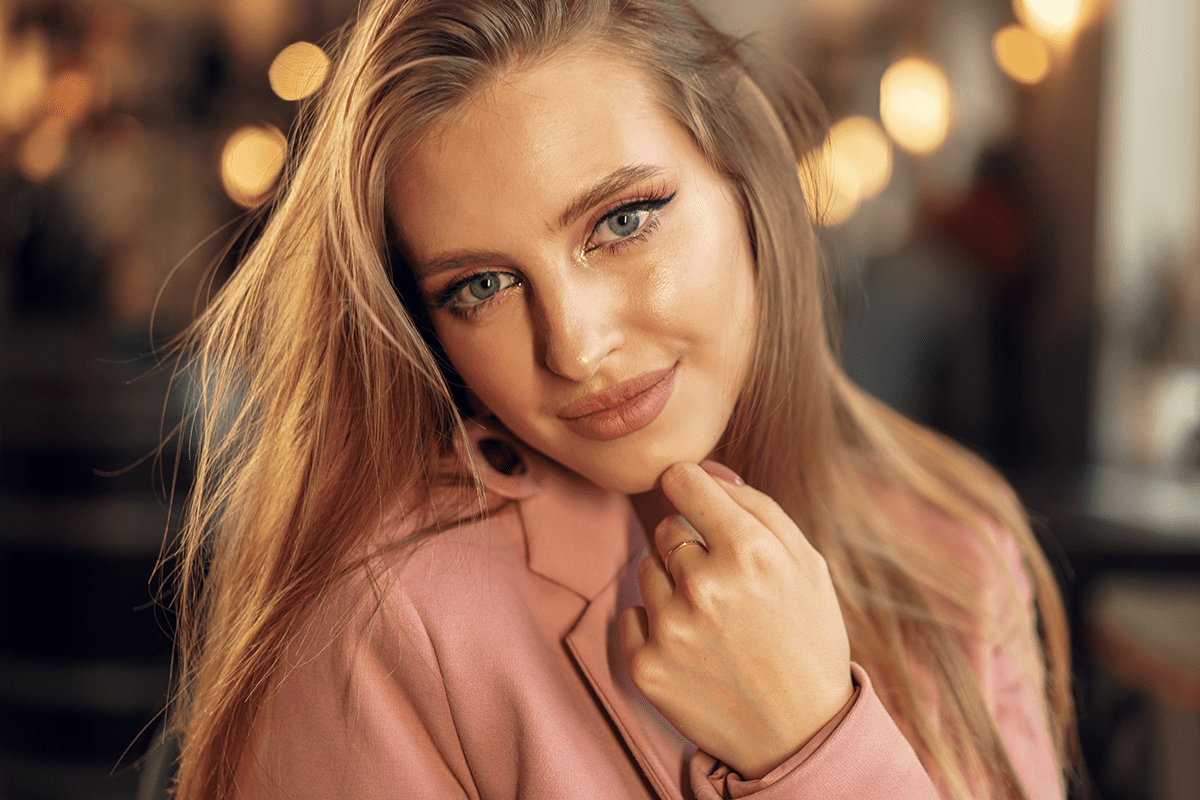
5 Ways To Smooth Skin In Photoshop
iving into the world of photography, especially portrait photography, it's impossible to overlook the significance of skin retouching. Every photographer, from amateur to professional, knows the joy of capturing a moment, an emotion, an essence. Yet, the magic often lies in the post-production tweaks and touches that elevate an image from good to spellbinding.
Skin retouching isn’t about hiding flaws or creating a facade. Instead, it’s the art of subtly enhancing a photograph to bring out the best in it. While natural beauty stands unmatched, refined post-production ensures that the final Image is a perfect rendition of reality, just a bit polished. Picture it as the finishing touch on a masterpiece or the final note in a beautiful melody.
But as with all things, there’s a balance to strike. Too little and the imperfections might distract; too much and you risk losing the moment’s authenticity. As we delve deeper into this article, we’ll explore techniques that ensure your images hit that sweet spot every time. Let’s embark on this illuminating journey together!
“In the vast symphony of life, self-love is the melody that harmonizes every note, elevating our existence.”


Skin Smoothing Basics
Have you ever wondered how every face radiates such flawless charm when browsing through high-quality portraits? Welcome to the world of skin smoothing! While a good photograph captures the moment’s essence, tiny blemishes or uneven tones can sometimes detract from the overall impact. And that’s where skin smoothing swoops in like a knight in shining armor.
Now, why do photographers venture down this retouching route? The reason is simple: perfection lies in the details. Subtle enhancements, like gently softening a minor blemish or reducing a slight skin roughness, can elevate an image to professional levels. These seemingly minor touch-ups often make a difference, offering a cleaner, more refined look without stripping away the subject’s natural charm and individuality.
In the vast canvas of portrait photography, the key is to keep alterations minimal and purposeful. After all, the aim is to enhance, not change. Remember, the little brush strokes turn a painting into a masterpiece.
Similarly, in photography, these nuanced tweaks craft a truly captivating portrait. Ready to dive into the how-tos? Stay with us!
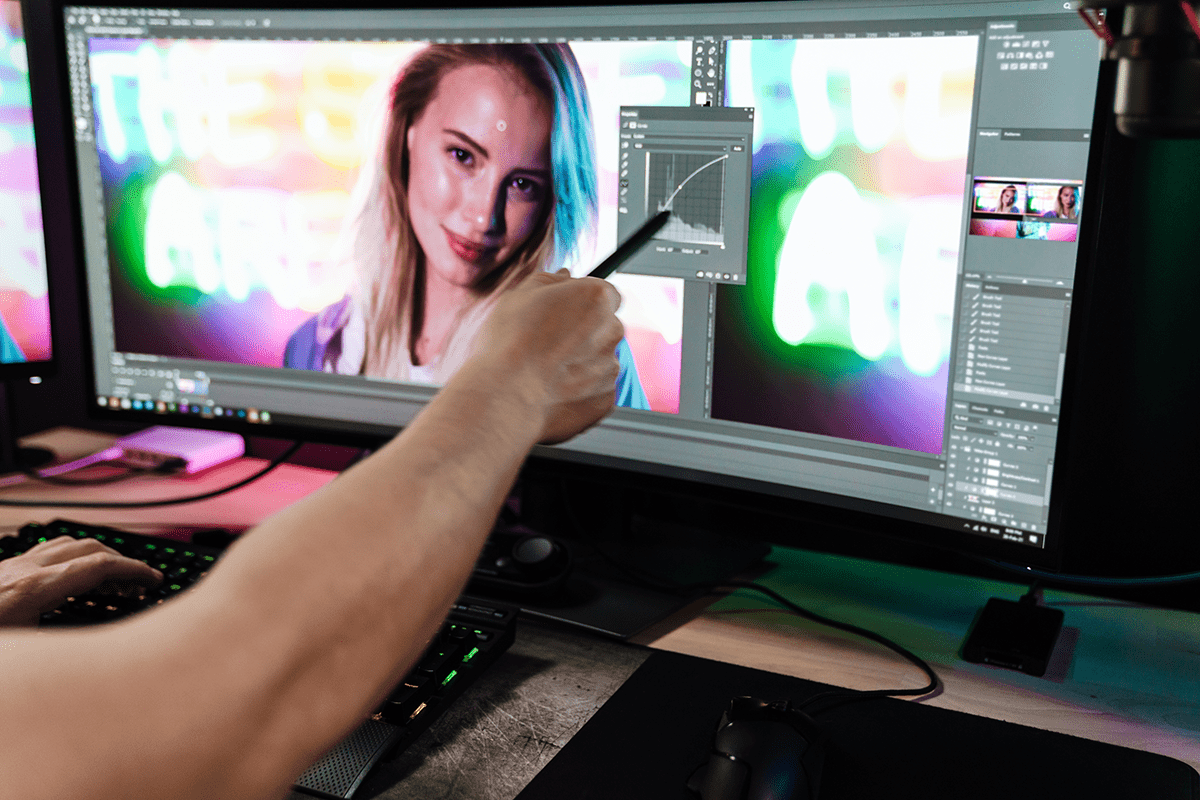
Photoshop's Healing Brush & Spot Healing Tool
In Photoshop’s grand toolbox, two tools reign supreme when it comes to addressing those pesky skin imperfections: the Healing Brush and the Spot Healing Tool. They’re the unsung heroes, ensuring our subjects look their absolute best without losing their authentic selves.
1. The Healing Brush Tool: This is your go-to tool for precision. It allows you to pick a source point and then paint over imperfections. Here’s a quick guide on using it:
- Select the Healing Brush Tool from the toolbar or simply press ‘J.’
- Hold down ‘Alt‘ (or ‘Option‘ for Mac users) and click a source point, ideally a clear skin area close to the imperfection.
- Release the ‘Alt‘ key and paint over the blemish. Photoshop blends the source point with the area you’re painting, making that zit or wrinkle vanish!
2. Spot Healing Tool: This tool is magic for those in a hurry. It automatically samples from around the area you’re correcting:
- Choose the Spot Healing Brush Tool right beside the Healing Brush.
- Ensure the ‘Type‘ is set to ‘Content-Aware‘ in the options bar.
- Simply paint over minor blemishes. Photoshop will analyze the surrounding pixels and auto-replace the imperfection with a matching skin texture.
These tools are your basic steps in the delicate dance of retouching. With a few strokes, minor distractions fade, letting your subject’s natural beauty shine through.
However, remember the golden rule: moderation. The aim is to retain character and reality while presenting the best version. On to more advanced moves next!
Understanding The Frequency Separation Technique
Jump head first into Photoshop’s treasure trove, and you’ll find a gem of a method seasoned pros swear by. This might sound like something from a sci-fi movie, but it’s a photographer’s best friend when aiming for magazine-cover-worthy images.
WHAT IS FREQUENCY SEPARATION?
In the simplest terms, Frequency Separation splits an image into two layers: one for textures (like pores and fine lines) and another for tones/colors (like shadows and blemishes). This division provides the freedom to retouch each Layer independently, ensuring the final result maintains skin texture while perfecting its tone.
HERE’S A QUICK GUIDE TO THE FREQUENCY SEPARATION TECHNIQUE:
Duplicate Your Image Twice:
Create two duplicates of the background layer with your Image opened. Name the bottom one ‘Low Frequency‘ and the top one ‘High Frequency’.

Blur the Low-Frequency Layer:
Hide the ‘High Frequency‘ layer (click the eye icon) and select the ‘Low Frequency‘ one. Apply a Gaussian Blur (Filter > Blur > Gaussian Blur) just enough to blur out skin texture, typically between 3 and 7 pixels.

Extract Texture on the High Frequency Layer:
Make the ‘High Frequency’ Layer visible and selected. Go to Image> Apply Image. Here, you’ll subtract the blurred Layer from the original.

Set the Layer to ‘Low Frequency’ and adjust the blending to ‘Subtract’. Set the Scale to 2 and Offset to 128. You’ll see a gray layer representing the Texture of the skin.

Use Blend Mode:
Set the blending mode of the ‘High Frequency‘ layer to ‘Linear Light.’

Now, you’ve separated tone and Texture! When retouching, use tools like the Clone Stamp or Healing Brush on the appropriate Layer to address specific concerns without disturbing the other.
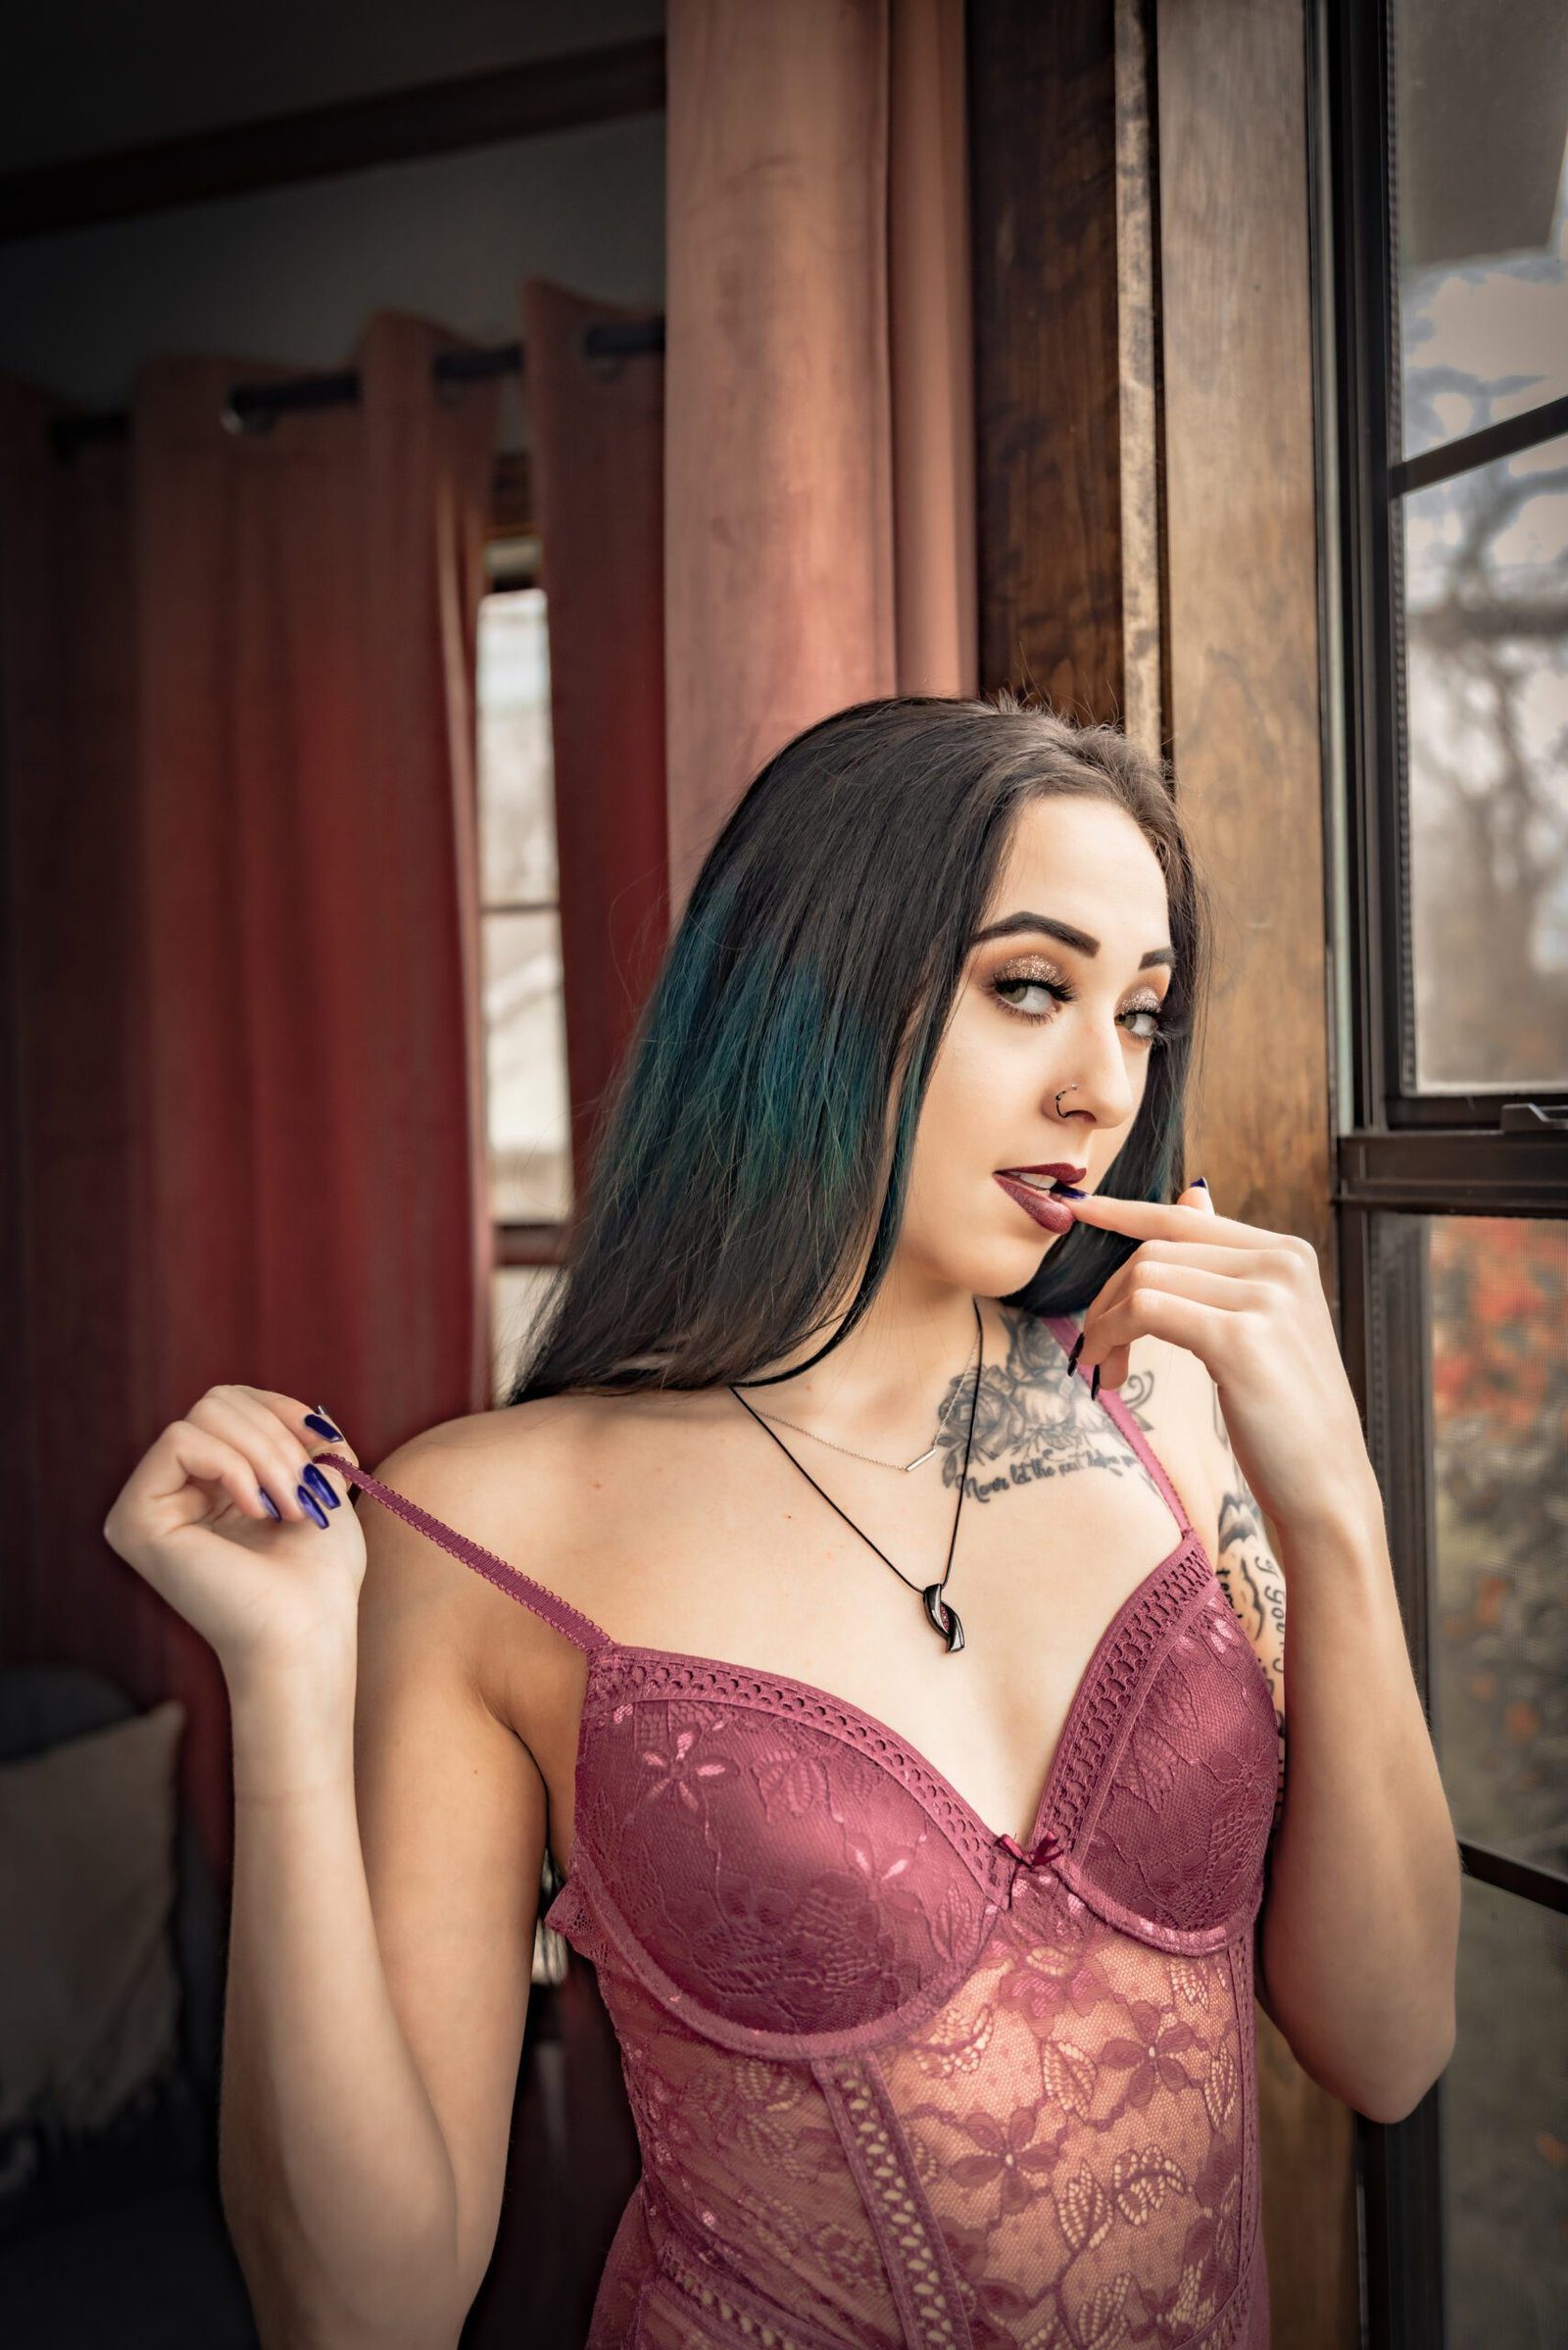
Although slightly more advanced, this technique provides unparalleled control and results in boudoir photography. It celebrates every freckle and nuance while allowing for that flawless, dreamy touch.
Gaussian Blur for a Soft Finish
There’s a fine line between a soft, dreamy finish and a photograph that looks like it was taken in a foggy haze. Enter Gaussian Blur, Photoshop’s nifty tool that, when wielded correctly, can add that ethereal touch without compromising on detail.
The Magic of Gaussian Blur:
At its core, the Gaussian Blur tool diffuses the pixel values in your Image, making everything look smoother and more blended. It’s perfect for softening features, reducing noise, or creating a romantic, soft-focus look. However, like all powerful tools, the secret lies in moderation.
Tips to Blur Just Right:
- Duplicate Layer: Always duplicate your original image layer before thinking about blurring. This way, you can adjust the opacity later if the effect is too strong.
- Adjust Radius: Navigate to Filter > Blur > Gaussian Blur. Here, you’ll see the Radius slider. Dragging it will increase or decrease the blur intensity. Aim for a lower value for subtle skin smoothing to ensure facial details remain evident.
- Layer Mask: Add a layer mask to your blurred Layer. This will allow you to paint selectively where you want the blur effect. Use a soft brush to gently paint over areas you wish to remain sharp, such as the eyes and lips.
- Tweak Opacity: If the overall effect is too strong, reduce the Layer’s opacity. This can help blend the blurred and original Layers seamlessly.
- Stay Natural: Always keep an original image open for comparison. It’s easy to get carried away, but frequently checking with the original ensures you maintain a natural look.
By harnessing the power of Gaussian Blur, photographers can achieve that coveted soft, glowing look that screams professionalism while preserving the authentic Texture and details that make each face unique. Remember, in the world of boudoir photography, it’s the subtle nuances that truly captivate!
Photoshop Actions & The Greater Than Gatsby Collection
The beauty of Photoshop is its sheer capability, allowing editors to craft perfect images through detailed touch-ups. Yet, as any seasoned editor knows, intricate retouching can be time-consuming. Enter Photoshop actions, the game-changer every photographer should know about, and when it comes to premium actions.
THE POWER OF PHOTOSHOP ACTIONS:
Imagine, for a moment, that you could record a series of steps in Photoshop. Every brush stroke, slider adjustment, and filter applied would be saved and ready to be replayed on another image with just a single click. That’s essentially what Photoshop actions are—a series of pre-recorded commands that can be applied to any image, instantly transforming it.
SPOTLIGHT ON THE GREATER THAN GATSBY COLLECTION:
While countless action sets are available, The Greater Than Gatsby Collection deserves special mention. Designed by professionals, for professionals, it offers a range of actions tailored to various photography genres, with a notable emphasis on skin-smoothing capabilities. Whether aiming for a subtle refinement or a magazine cover finish, this collection has got you covered.
CONSISTENCY IS KEY:
One significant benefit of using predefined actions is the consistency they bring. You no longer need to remember every tiny adjustment made to an image; applying an action ensures uniformity across a batch of photos. This saves time and guarantees a signature style that’s instantly recognizable as yours.
In the bustling world of boudoir photography, where every detail matters, Photoshop actions act as a trusty sidekick. They ensure each shot is breathtaking and consistently aligned with your unique artistic vision.
Keeping It Real in Retouching
Portrait editing and skin smoothing throw you into a strange realm where the spectrum of possibility stretches beyond the imagination; there lies a nuanced art to skin retouching. It’s the delicate dance between enhancement and authenticity, the balance of making every photo pop while ensuring each subject feels unmistakably themselves.
Retaining the natural Texture of the skin and those unique imprints that make us who we are is paramount. It’s what separates a photo that feels raw, genuine, and alive from one that appears artificial. Yes, we aim for perfection in our images, but it’s a perfection that should resonate with reality, celebrating individuality.

However, like all art forms, there’s no one-size-fits-all in boudoir photography. What works wonders for one Image might not strike the same chord for another. It’s a realm of trial, error, and continuous learning.
Dive deep, play around with the many available tools and techniques, and carve out your signature style. Whether you’re a Healing Brush enthusiast or a Gaussian Blur guru, remember that the ultimate goal is to enhance, not erase, the natural beauty already there.
To all the photographers and editors out there, as you journey through the vast seas of Photoshop, always let the essence of your subject be the guiding star. Experiment, evolve, and most importantly, enjoy the art of capturing beauty in its most authentic form.
JOIN THE RETOUCH REVOLUTION | SHARE, LEARN, AND ELEVATE YOUR EDITS!
Alright, wizards of the digital world, it’s your turn! We’ve shared our little bag of tricks, but we know there’s an ocean of Photoshop magic out there.
What are your go-to techniques for impeccable skin-smoothing? Are there any secret tools or hacks up your sleeves? We’re all ears (and eyes)!
Keep going if you’ve just started dipping your toes into the Photoshop pool. Countless other tutorials await you, each unlocking a new realm of creative potential. And for those looking to elevate their editing game, consider diving deep into the treasure trove of The Greater Than Gatsby Collection. It’s packed with advanced techniques to make your images shine like never before.
So, let’s keep this conversation flowing. Drop your insights, questions, or even your masterpiece edits. Let’s build a community where we grow, learn, and craft breathtaking visuals, one retouched pixel at a time!


